The colours
Always different - 648 variants
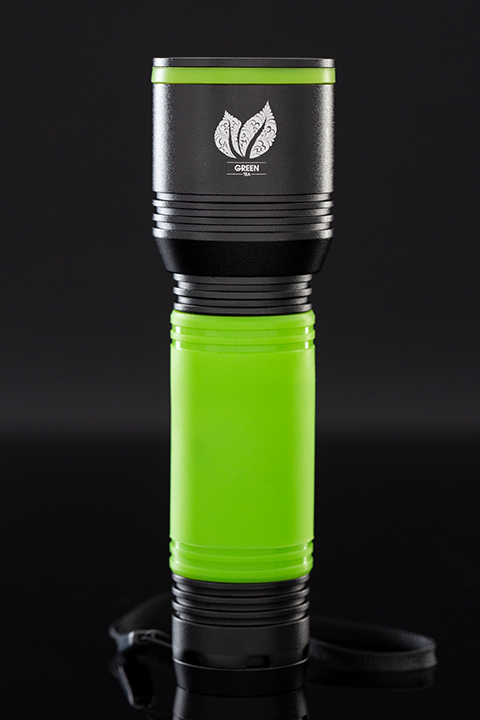
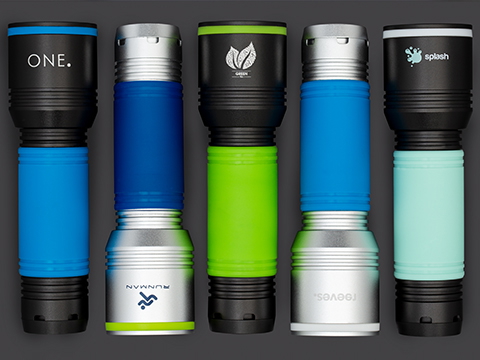
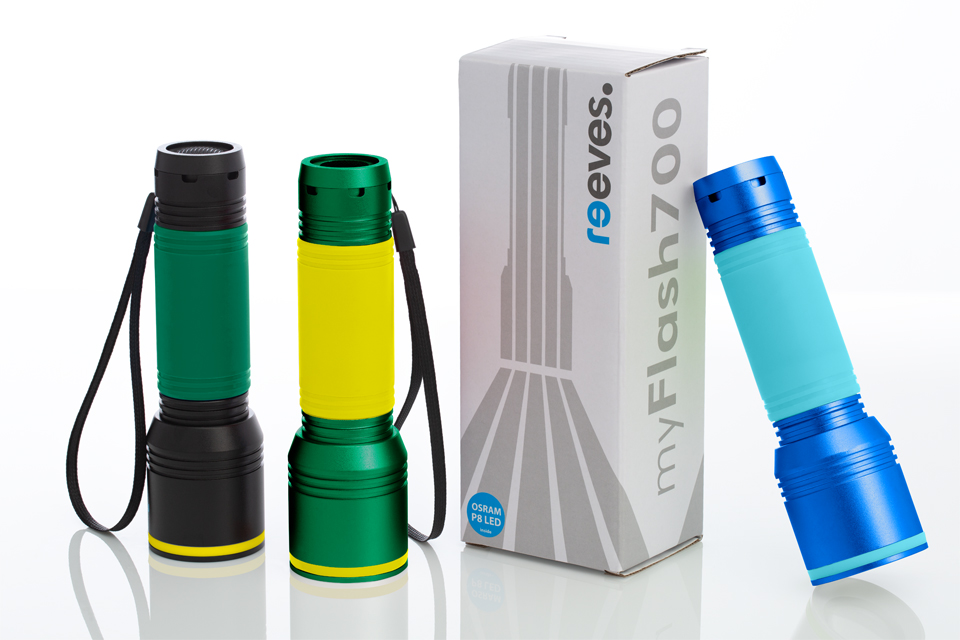
648 colour combinations offer you near endless possibilities to create “your” individual REEVES-myFlash 700. There are hardly any limits to your own imagination and the fun you’ll have.

The torch
A bright bundle of joy for every occasion
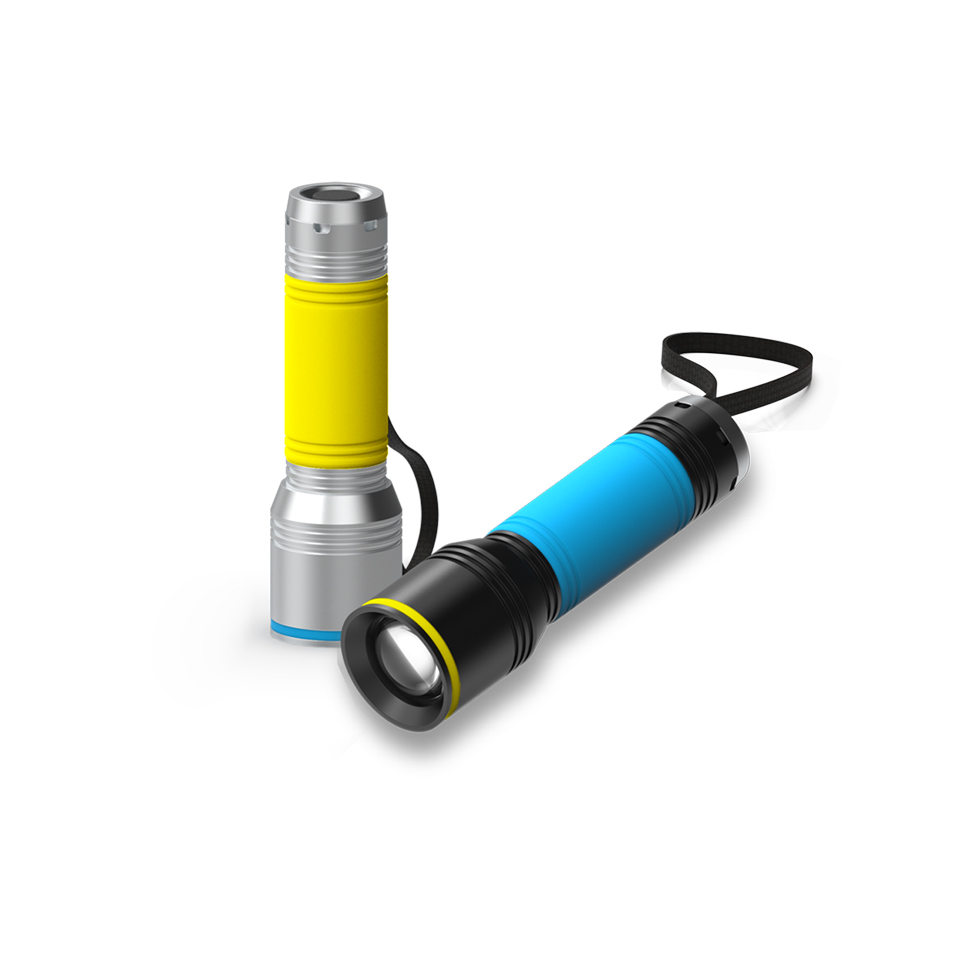
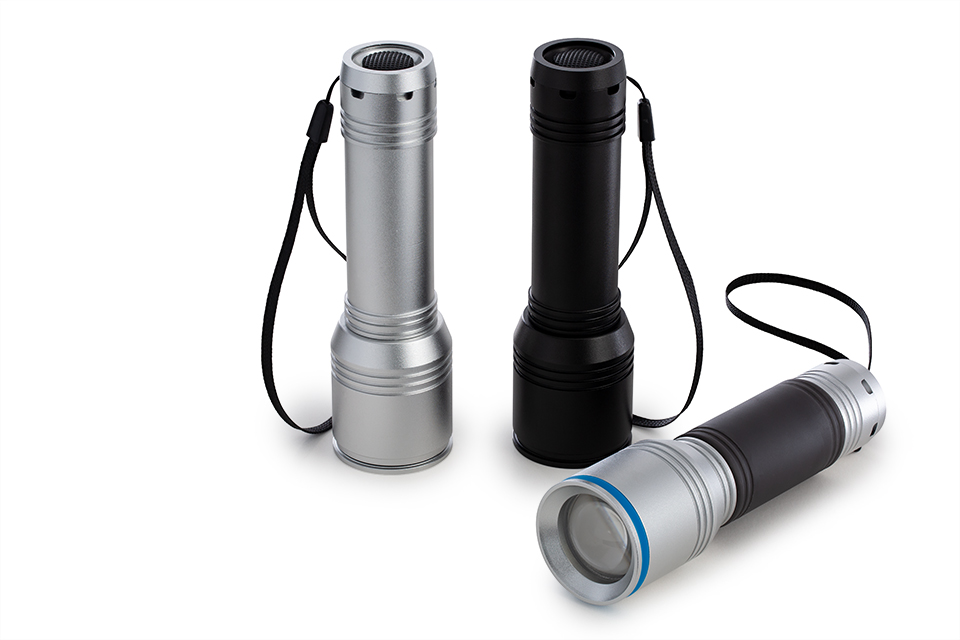
The REEVES® myFlash 700 is a shining example of functionality and timeless design aesthetics. The materials and their features make them a useful companion in everyday life – whether for DIY at home or camping in nature.
- High-quality full aluminium housing
- Colours: silver or black (anodised)
- LED: Osram P8 (white)
- Brightness: 700 lumen
- REFLECTS® proprietary design and design protection
- Light cone zoomable
- Maximum range 376 metres
- Maximum brightness 35,400 candela (luminous intensity)
- 5 light modes: high, mid, low, flashlight, SOS
- Rechargeable via Mirco-USB port, cable (USB-A to Mirco-USB) included
- Battery life: high = 45min, mid = 1:15h, low = 2:30h
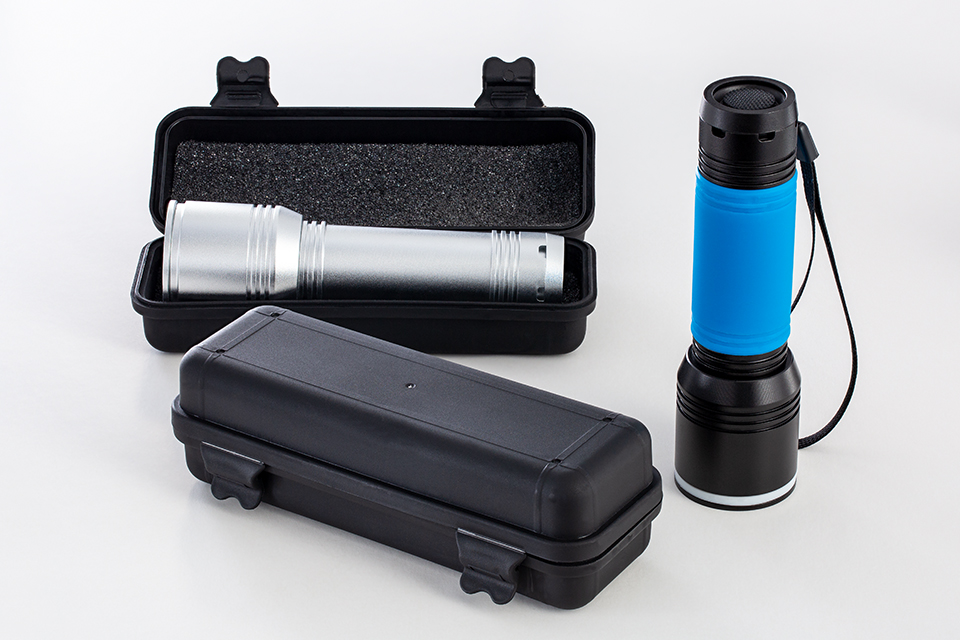
- Incl. plastic box and gift packaging
- Textile grip strap in black for a secure hold
- Configurable with ring and/or sleeve
The ring
Say “yes” to this accent!
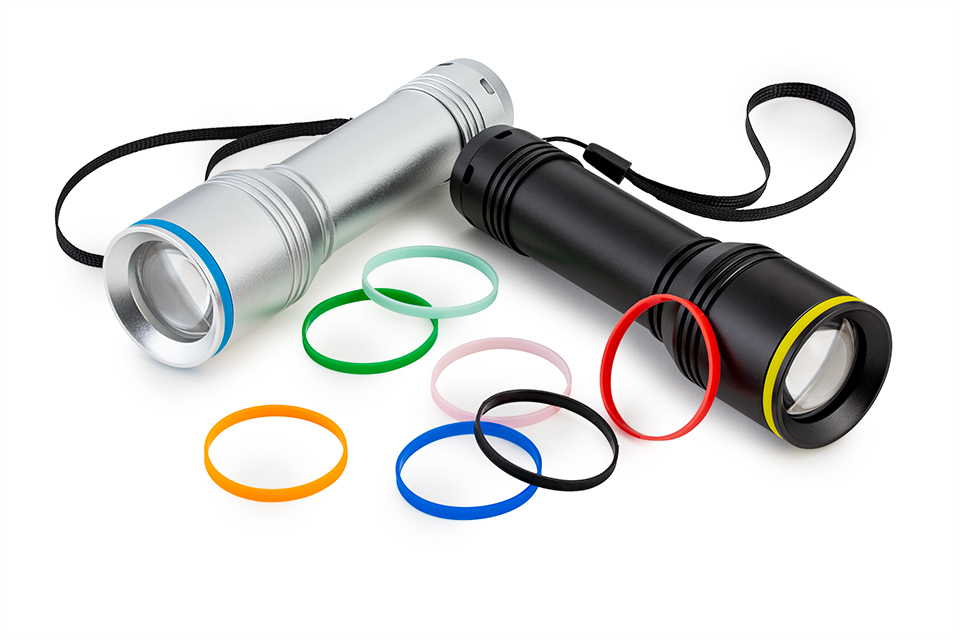
You can also set individual accents with the coloured ring. Here, too, you have the choice between many different colours.
- Optional colour accent
- 17 different colours in stock in Cologne
- Made from high-quality silicone
The sleeve
Everything under control
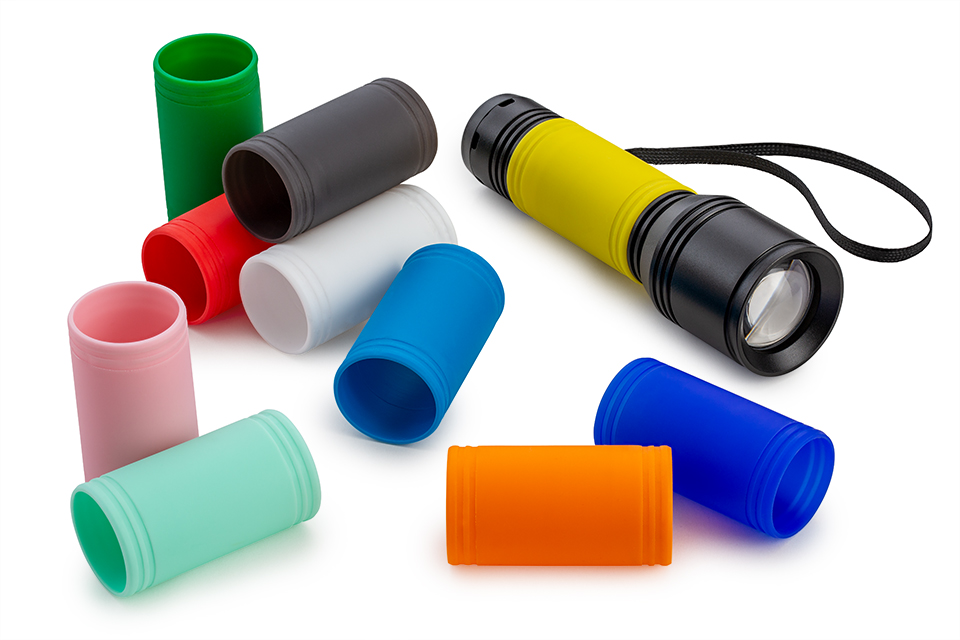
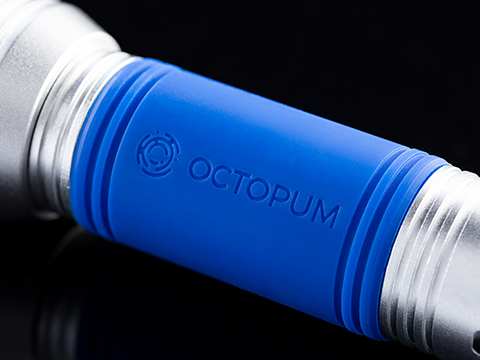
The sleeve located on the grip zone ensures that the REEVES® myFlash 700 LED torch sits securely and firmly in your hand. It can also be customized in terms of colour.
- Makes the aluminium torch fit comfortably in the hand
- Optional colour accent
- 17 different colours in stock in Cologne
- Made from high-quality silicone

Customisation in Cologne
Individual – just like everything else from REFLECTS®
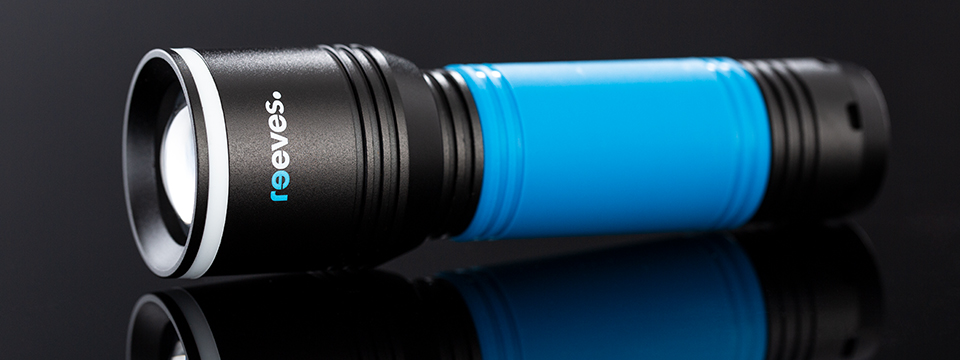
You know that, with REFLECTS®, you’ll always enjoy that little bit more. That is why you also have the option of having the REEVES® myFlash 700 individually refined.
- Individual laser engraving
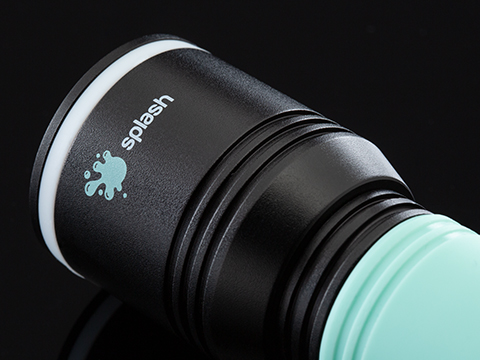
- Precise 2C pad printing
- Maximum flexible UV printing
- CO2 laser engraving on sleeve
Marketing
All-round support you can depend on
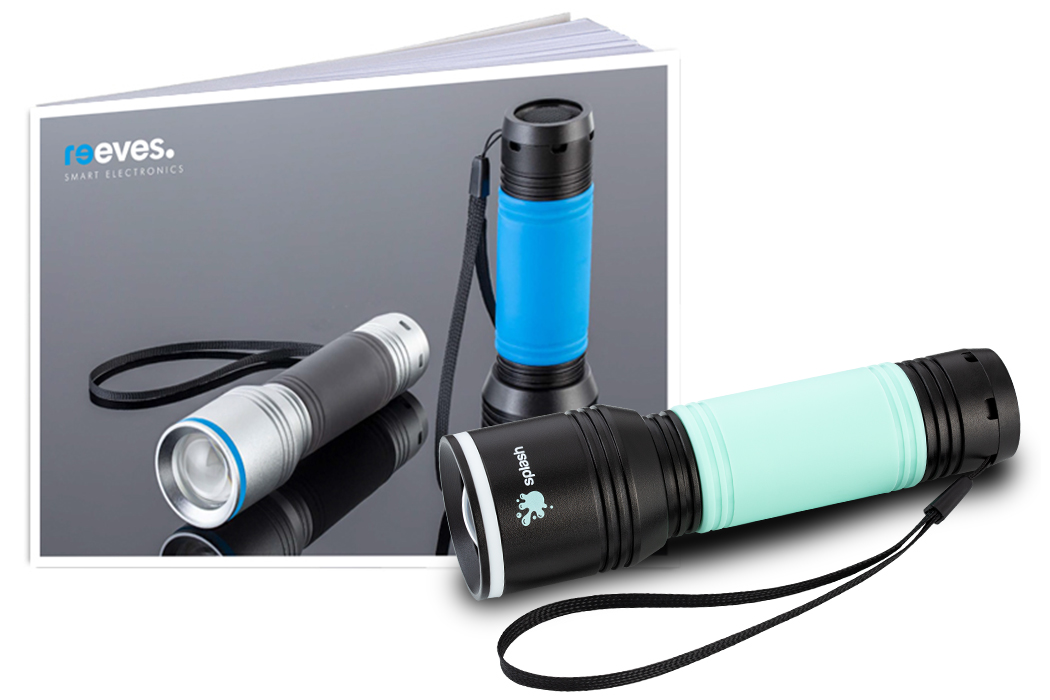
With our marketing materials, we support you in marketing the myFlash 700. If you need individual support, please contact us.
- Detailed colour chart with Pantone mapping as PDF
- Digital info brochure / product presentation with logo visualisation
- High-quality product photos for download
- Product video with your individual intro / autro
- Samples as illustrative specimens
- Sample set for 17 silicone colours
- Product display for trade fairs and showrooms
- Other materials on request
Good to know
The torch with certain extras
Plastic box
Our LED torch REEVES® myFlash 700 is supplied in a black, lockable plastic box. A cardboard gift box rounds off your delivery.

Recharge
The torch’s battery can be charged without any problems. You simply slide the head of the torch upwards (zoom function). Underneath, you will find a Mirco USB port. This is usually hidden by the head, making it IPX4 splash-proof. A USB-A to Mirco-USB charging cable is included.
Our special designs
For all those who have other wishes
You need a particular colour or that special finish? So much is possible and also feasible. Just let us advise you on your options.
- Silicone in a desired colour from 2,000 units
- Torch in a special colour from 3,000 units
- Individual gift packaging from 3,000 units
Questions and answers
The issue could be that you haven't removed the battery separator. This is a round plastic disc located in the rear part of the flashlight.
If this is the case, follow these steps to remove it:
- Unscrew the rear part of the flashlight.
- Remove the battery separator.
- Screw the cap back on tightly.
After removing the battery separator, your myFlash 700 should turn on normally. If the problem persists, the battery might be discharged. For information on how to charge the flashlight, see the Q&A entry below. If the problem continues after charging, please contact us.
To charge your myFlash 700, follow the following steps:
- Slide the head of the flashlight forward to access the USB port underneath.
- Connect the supplied USB cable to the USB port on the flashlight and the other end of the cable to a suitable power source (adapter, power bank or PC). Important: To start the charging process, press the power button once.
- The charging LED will light up red, indicating that the flashlight is charging. Once the battery is fully charged, the LED will turn green and you can disconnect the cable.
More torches
More configurable promotional items
